Showing posts with label seedlings. Show all posts

Wednesday, October 24, 2012

Hurry up and grow!

the greenhouse is filling up..
 Today we planted a mixture of heirloom tomatoes, corn and baby corn, an australian heirloom pumpkin mix and Im trying my luck again this year growing the worlds biggest pumpkin seed.. its supposed to be able to grow as big as a car but last year mine died in that 3 days of 40 degree heat, heartbroken.


still not finished the shelving but enough space for now
Was 41 degrees in the greenhouse this morning, took out the rosemary cuttings we are hoping will root.. Shops are charging like $10 bucks each for these suckers at the moment and its so easy to grow your own from transplants, sure you might get a few misses but you wont be short of big rosemary bushes in Ellenbrook to have another crack. Ill post a how-to soon.


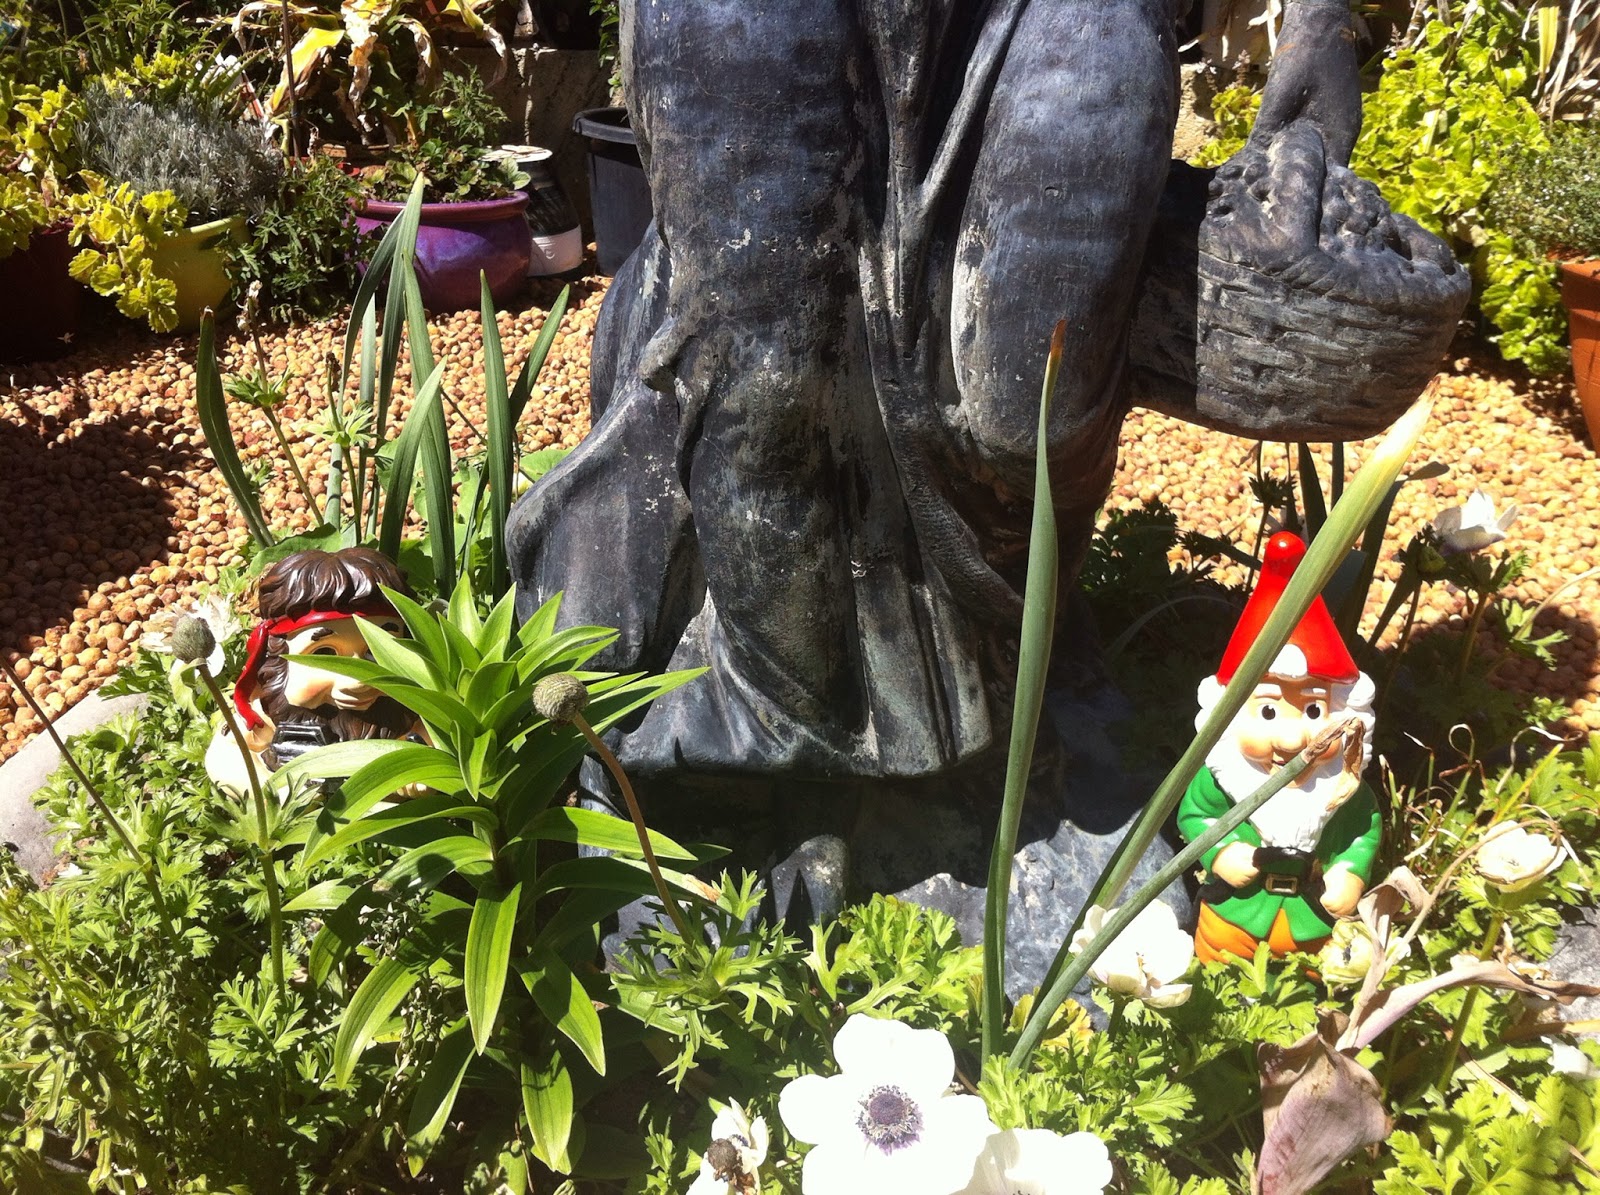
ranbo has a mate finally =]

Sunday, October 14, 2012

Pallet Box Recycling

standing upright
So, im just going by a photo I had seen so im sure that , in construction, this attempt will differ from the ones I do in the future. Maybe you have some input from my mistakes...? Start with sourcing a pallet thats new and sturdy.
Step 1: I cut two sheets of chicken wire to fit on the inside of the bottom of the pallet and affixed them using cable-ties either side of the pallets center beam. Pallet designs vary but it is important to affix the chicken wire tightly. from both the top and bottom and the sides. If you are using the pallet horizontally then if the chicken wire is not attached tightly the weight from the 6-8 bags of potting mix will cause it to droop. 
use zipties to hold the wire in place


the 'bottom' of our pallet
Step 2: At one end attach a piece of chicken wire (cut to shape) along the entire length of the pallet to hold in the soil. You only have to do this on one side if you are standing it up but if your intention is to make it a lying down garden bed you will need to do this on both ends.
Step 3: Fill the pallet with potting mix (compact well if you want it to stand up), cut away and discard all of the loose chicken wire.

Step 4: Plant your seedlings. N.B. I drenched the soil before I planted to help the soil retain shape.

Tuesday, October 9, 2012

Busy Busy Busy..

tomatoes - remove the first cotyledon leaves (the two leaves under the first true leaves
We transplanted some tomatoes today. We have had a little bit of luck in the last few years with tomatoes, but hoping this year to get a massive crop. We will need to stake these in a few weeks.
plant deeply, to the first true leaves. The white hairs on the stem will all turn into roots when under soil.
seedlings for sale!
We have plenty of leftover seedlings again this year and trying for the first time to sell some. Having some luck selling herbs but not alot of people seem to want the veges.

the aquatic plant tank

Our aquatic plants are doing well with the addition of the CO2 reactor. I will post some pictures with a how-to when I collect some good plastic bottles ><


Sunday, October 7, 2012

The Greenhouse


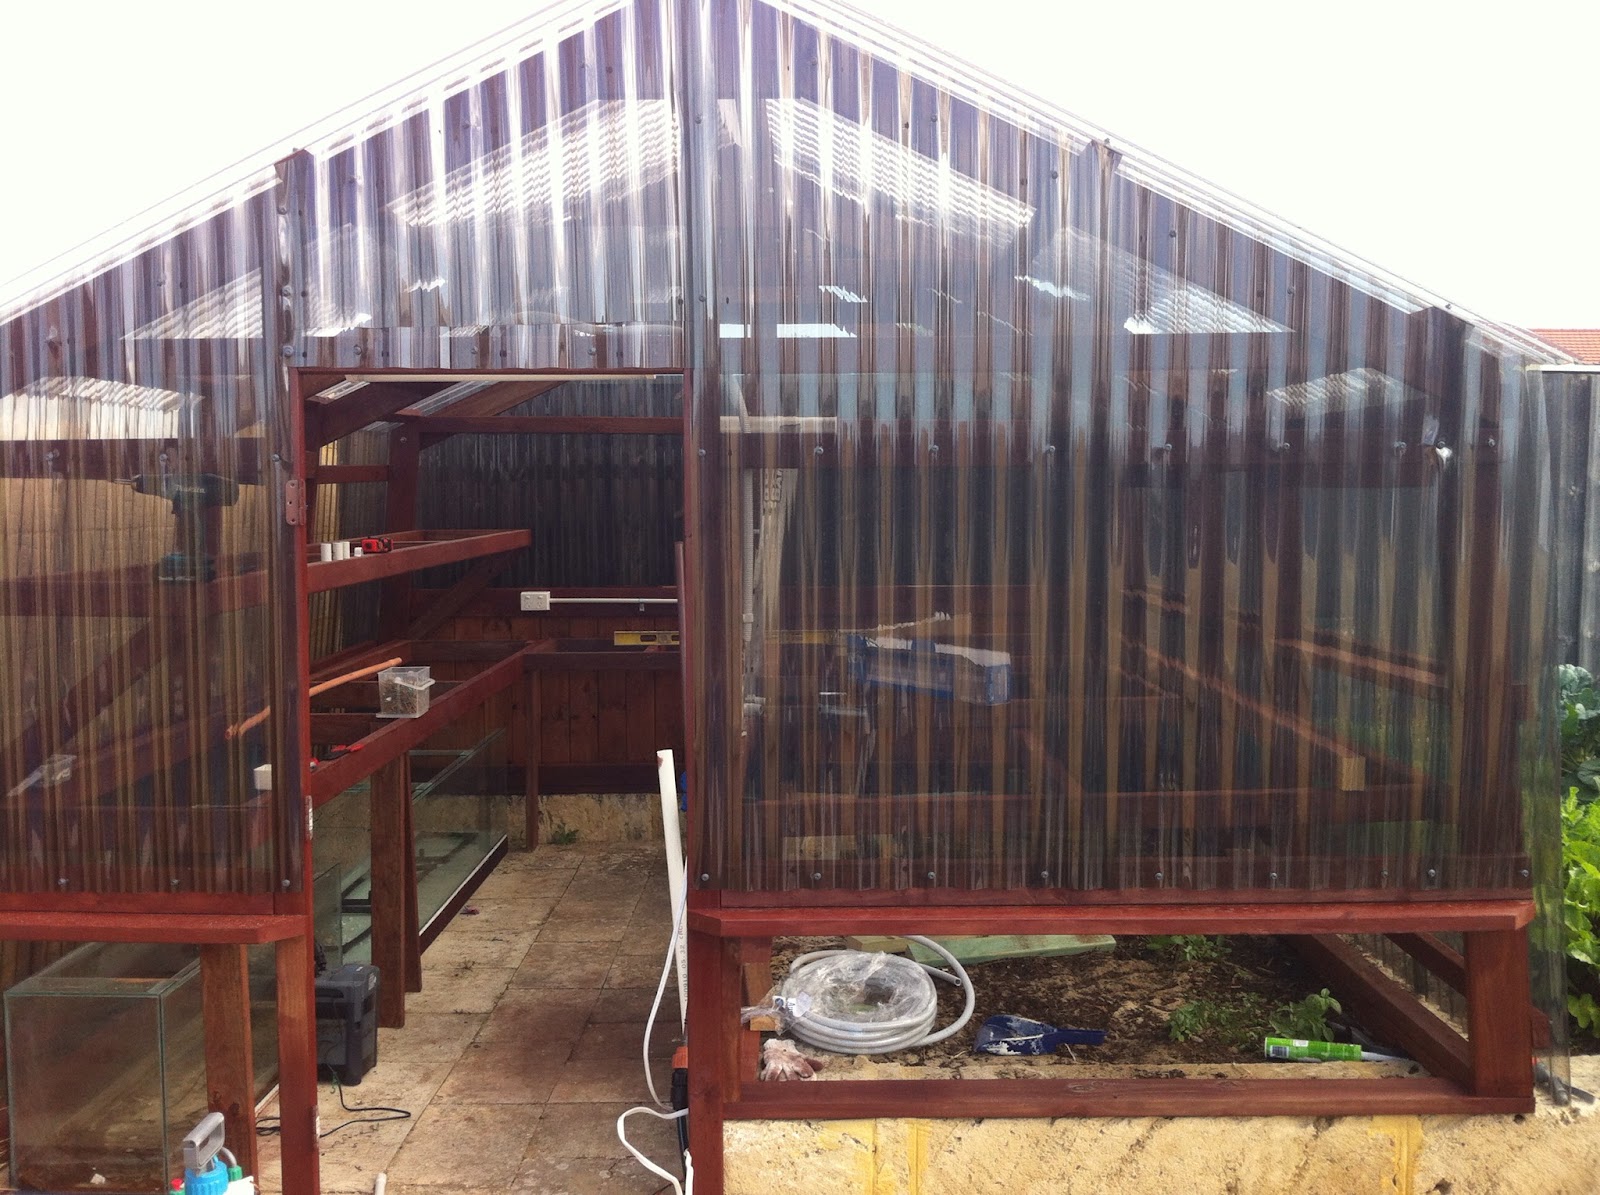
The greenhouse is almost complete! Lights and electrics all in place, just waiting on some shelves.. We will be mostly focusing on having an aquaponic setup in there but there is plenty of space to start our seedlings for planting in the patch.